Hi Everyone, hope this post helps you in one way or another in understanding the process of renovating your kitchen ONLY.
During the December holidays, I embark on a journey which made me realise how important renovation is before you buy a house. Renovation and changing windows to thermal aluminium windows can often be necessary before purchasing a house. In turn, this website can offer valuable guidance and resources to assist you in making informed decisions during the home-buying process.
I decided to renovate my kitchen. When I first moved in 2 years ago, the thing that occurred to me and anyone else was I did not have to renovate in order to move in. The renovation was acceptable at that time, and I also considered a kitchen repaint using a Kitchen Spray Painting for this. After 2 years, tiles started falling off.
What made the journey tough was the thought of doing everything alone, checking who is the trusted carpenter in town, the hacker in town, the tiler in town, — the coordination, the contractors, freelance workers and mending the work being done. I then realized that the work of a main contractor and ID is not that easy. If you’re selling your home, then learning how to stage home to sell is important.
Well, this is my first and I hope it to be the last. However, amidst the challenges and complexities of home renovation, it’s essential not to overlook the maintenance of other parts of your property, such as ensuring the functionality and safety of essential components like dock door repair. You can click here if you want to change your doors.
Here, I noted down my journey and make this a wonderful memory as well as a reference to all readers.
THE RENOVATION PROCESS IN THE KITCHEN
1) Demolish storeroom wall
This is the most excrutiating, as the dust, cement and noise literally kill you. This can carry on for 2-3 working days (Hacking is not allowed on Sat and Sun) To me, storeroom is a place where you dump useless items and not store useful items. Maybe I have not reached the period when I will have a lot of things to store. But well, I really have a lot of things in the storeroom that can be thrown away. Hence, down goes the storeroom.
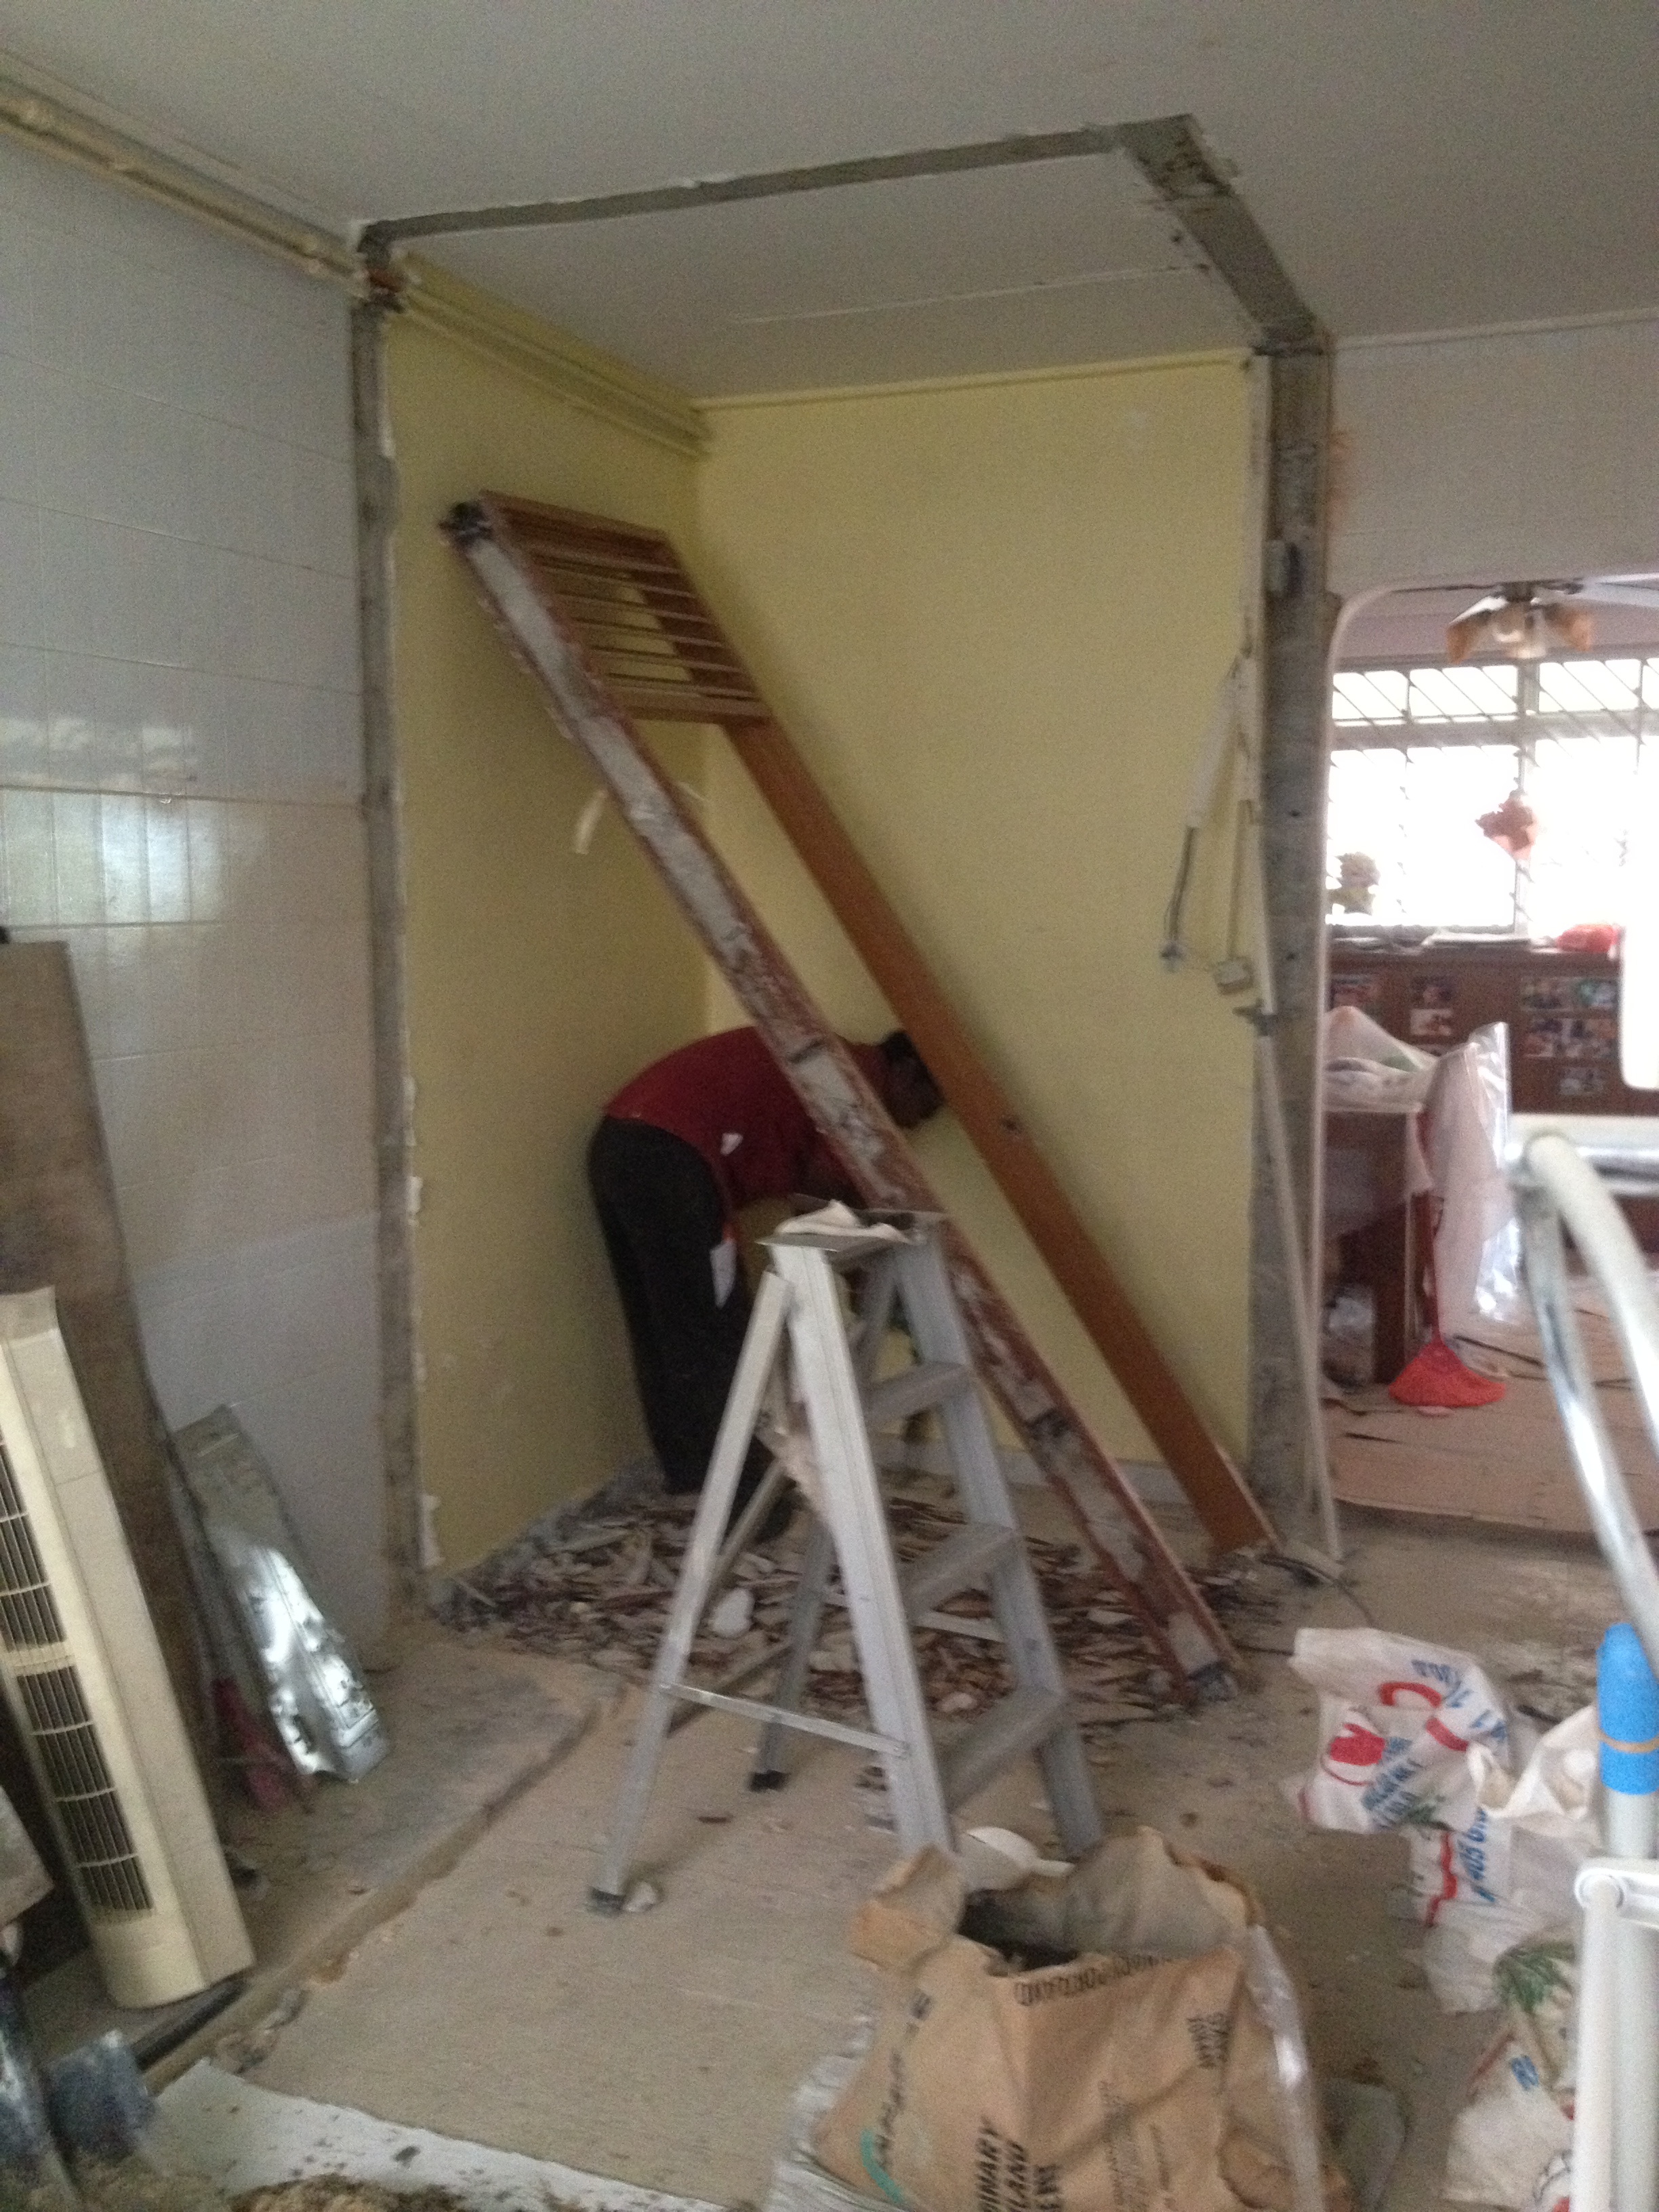
2) Demolish cabinets and cabinet base
This is purely using force to tear down the cabinets, since it wont be reused. Cabinet base requires drilling unless you are doing to reuse that portion for your kitchen.
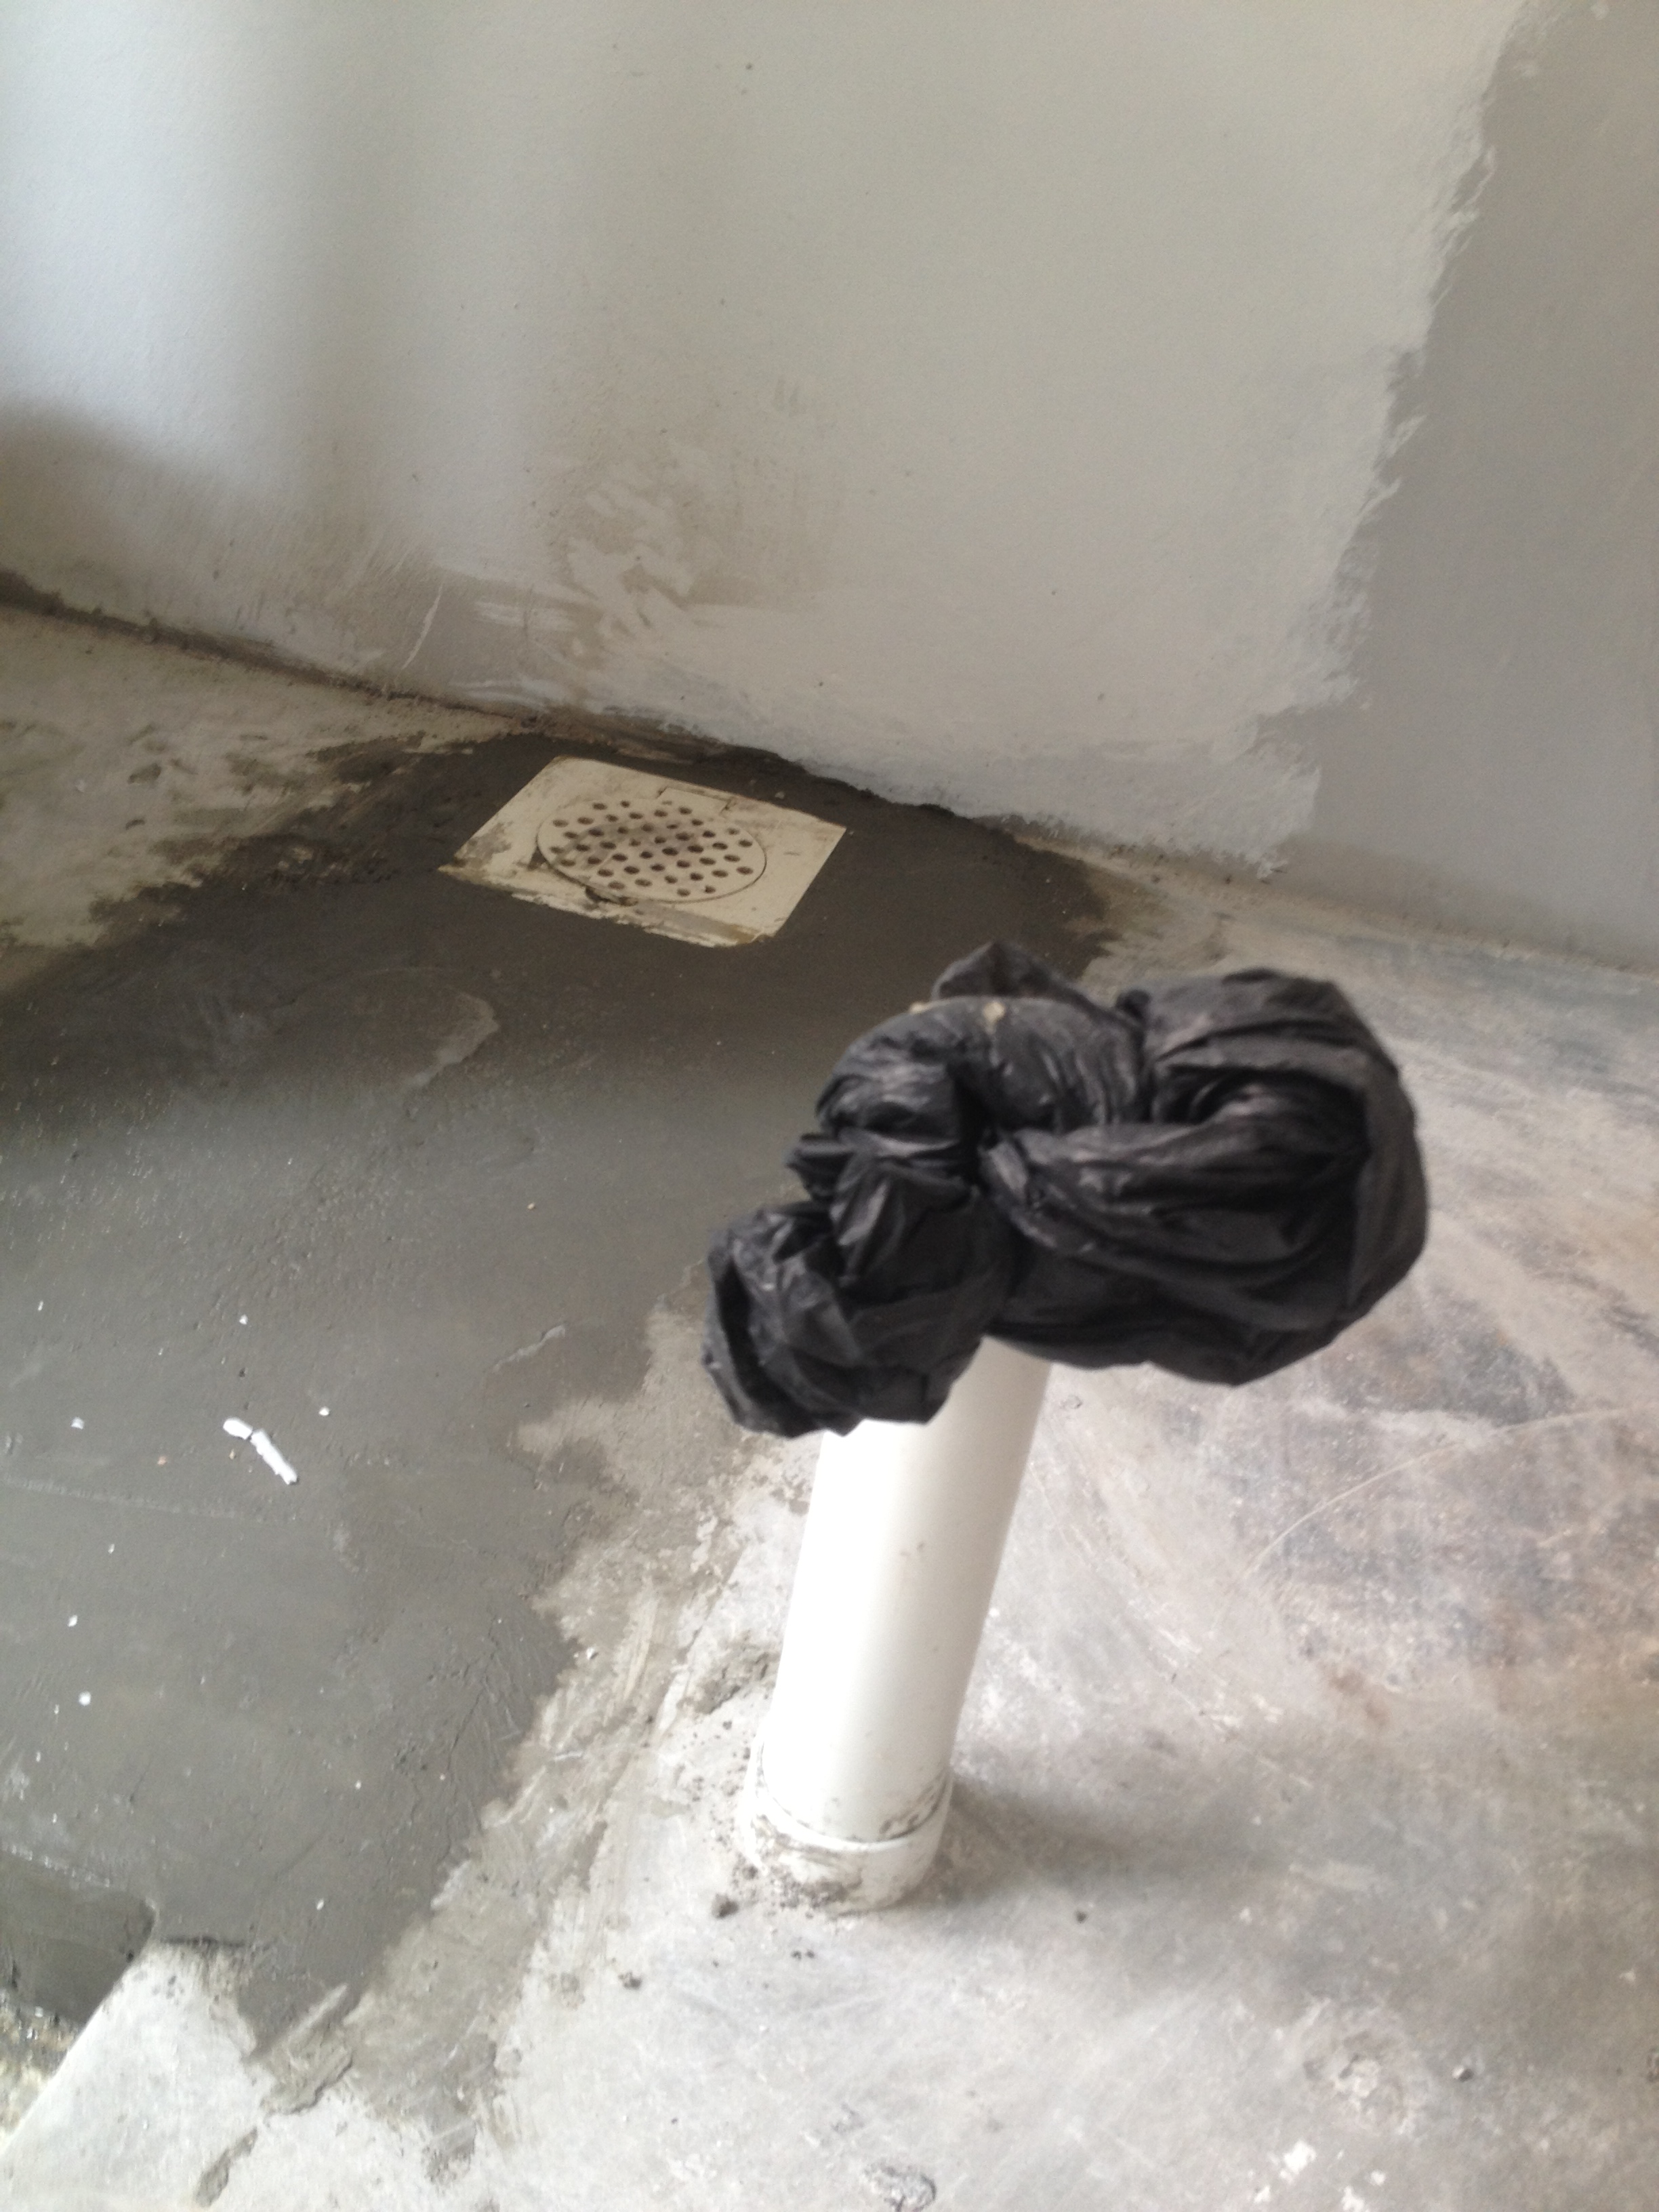
3) Constructing the cabinet base & water outlet piping
After the cabinet base is hacked and after surface preparation, the new base will be constructed, requiring 2 days to dry. You can check out https://softstripping.co.uk/ to get an idea. During this time, the water outlet for the kitchen sink and washing machine has to be determined, as the outlet pipes can be hidden underneath the cabinet base. It is always good to hide those pipes as they will be unsightly if left in the open. Please see Dustbin at Point (6). For HDB units, do remember to get them to leave a hole for the water to flow out in the event of dripping water faucet or flooding in the kitchen, though that may only happen once in million years. Additionally, if you experience hot water out of cold tap, it could indicate a plumbing issue. If you want a water softener, you can check out https://water-softener-installation.co.uk/. For clean water, make sure to do a regular water tank cleaning.
See how the pipes stick out of the cabinet base, beneath the base is the pipe that leads all the way to the main outlet.
4) Water Inlet Piping
There must be a water inlet for the kitchen sink and the washing machine to operate. A plumber is required for the job. Do remember that the main switch is off before your kitchen floods! Also, if you encounter issues with your garbage disposal, consider seeking professional garbage disposal repair services to ensure smooth kitchen operations.
5) Gas Inlet
Call up City Gas for the fixing of this pipe as they are the only authorised person for the job.
6) Dustbin
If you are still using the traditional dustbin, PLEASE get a new one. Makes your kitchen look 200% newer. Costs less than a hundred, including installation.
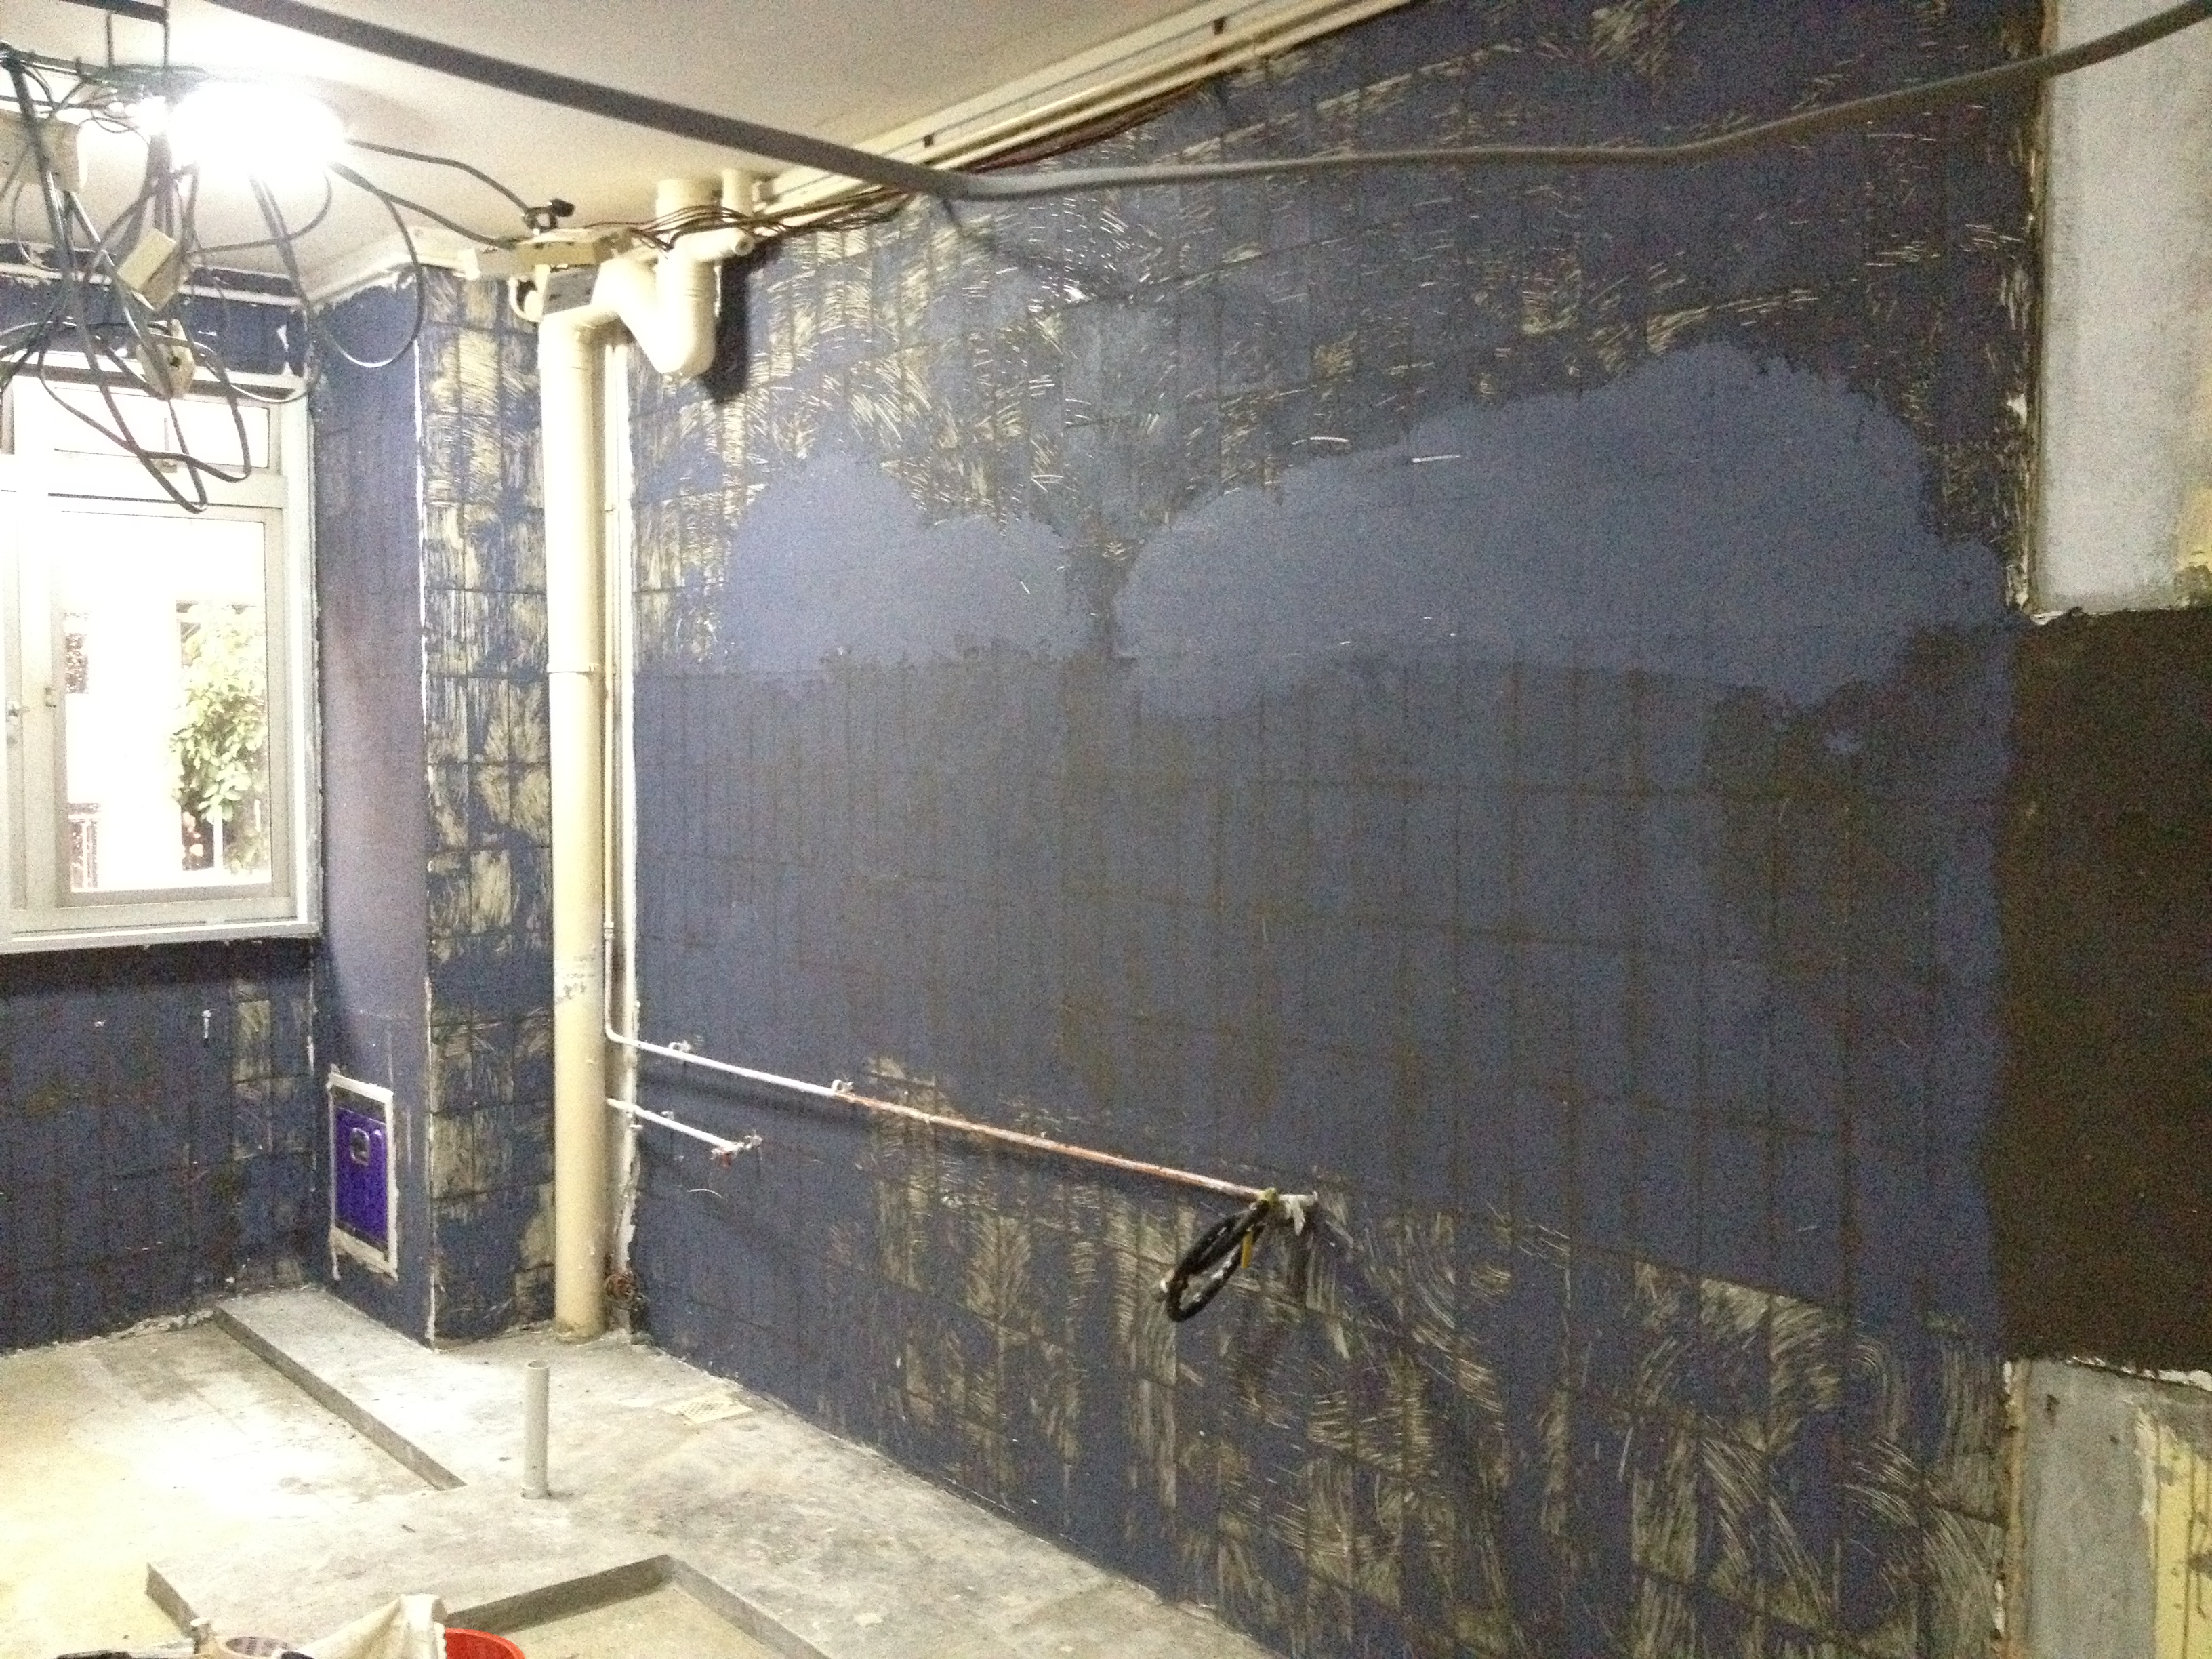
7) Kitchen wall
My kitchen walls are tiled with the traditional small rectangular tiles, which I didn’t like. Hence I was left with 3 choices:- A) Hack the tiles and cement or relay tiles, B) Overlay tiles and C) Cement over existing tiles. I chose Option C, due to the cost and convenience. To hack the tiles is another long long long process which I didn’t want to go through, but mainly the cost won it all. At least I do not need new tiles anymore.
Before they start to cement over the tiles, they have to apply a layer of rough coat so that it will “hook” on the grout lines and cement can then hold unto the tiles. Sounds like spiderman, but that’s the way they described it. It is very important to check out the process before you commit as I made a slight mistake here. I spoke to a painter who can cover the wall tiles, and he plastered the tiles, one by one, as for the cabinets I also found some kitchen cabinet painters to help me with this. Fortunately my neighbour did the cementing of wall and I took notice. Changed the painter immediately, and told another worker to cement. Although I am not sure whether it is called CEMENT, but definitely not plaster.
Wall Plaster
In order to save costs, I only did the middle part as the top and bottom will be covered by cabinets.

Wall Cement
This is charged by per kitchen, hence they did the whole patch.
8) Electricity
In order to ensure the wall is covered as much as possible, all electricity cables have to be removed. Reusing them does not cost as much as relaying the wires. I chose Legrand switches as they are simple, nice and have 4 switches together. As a solution, local contractors such as this electrician in Peekskill, NY can handle the removal of these cables efficiently.
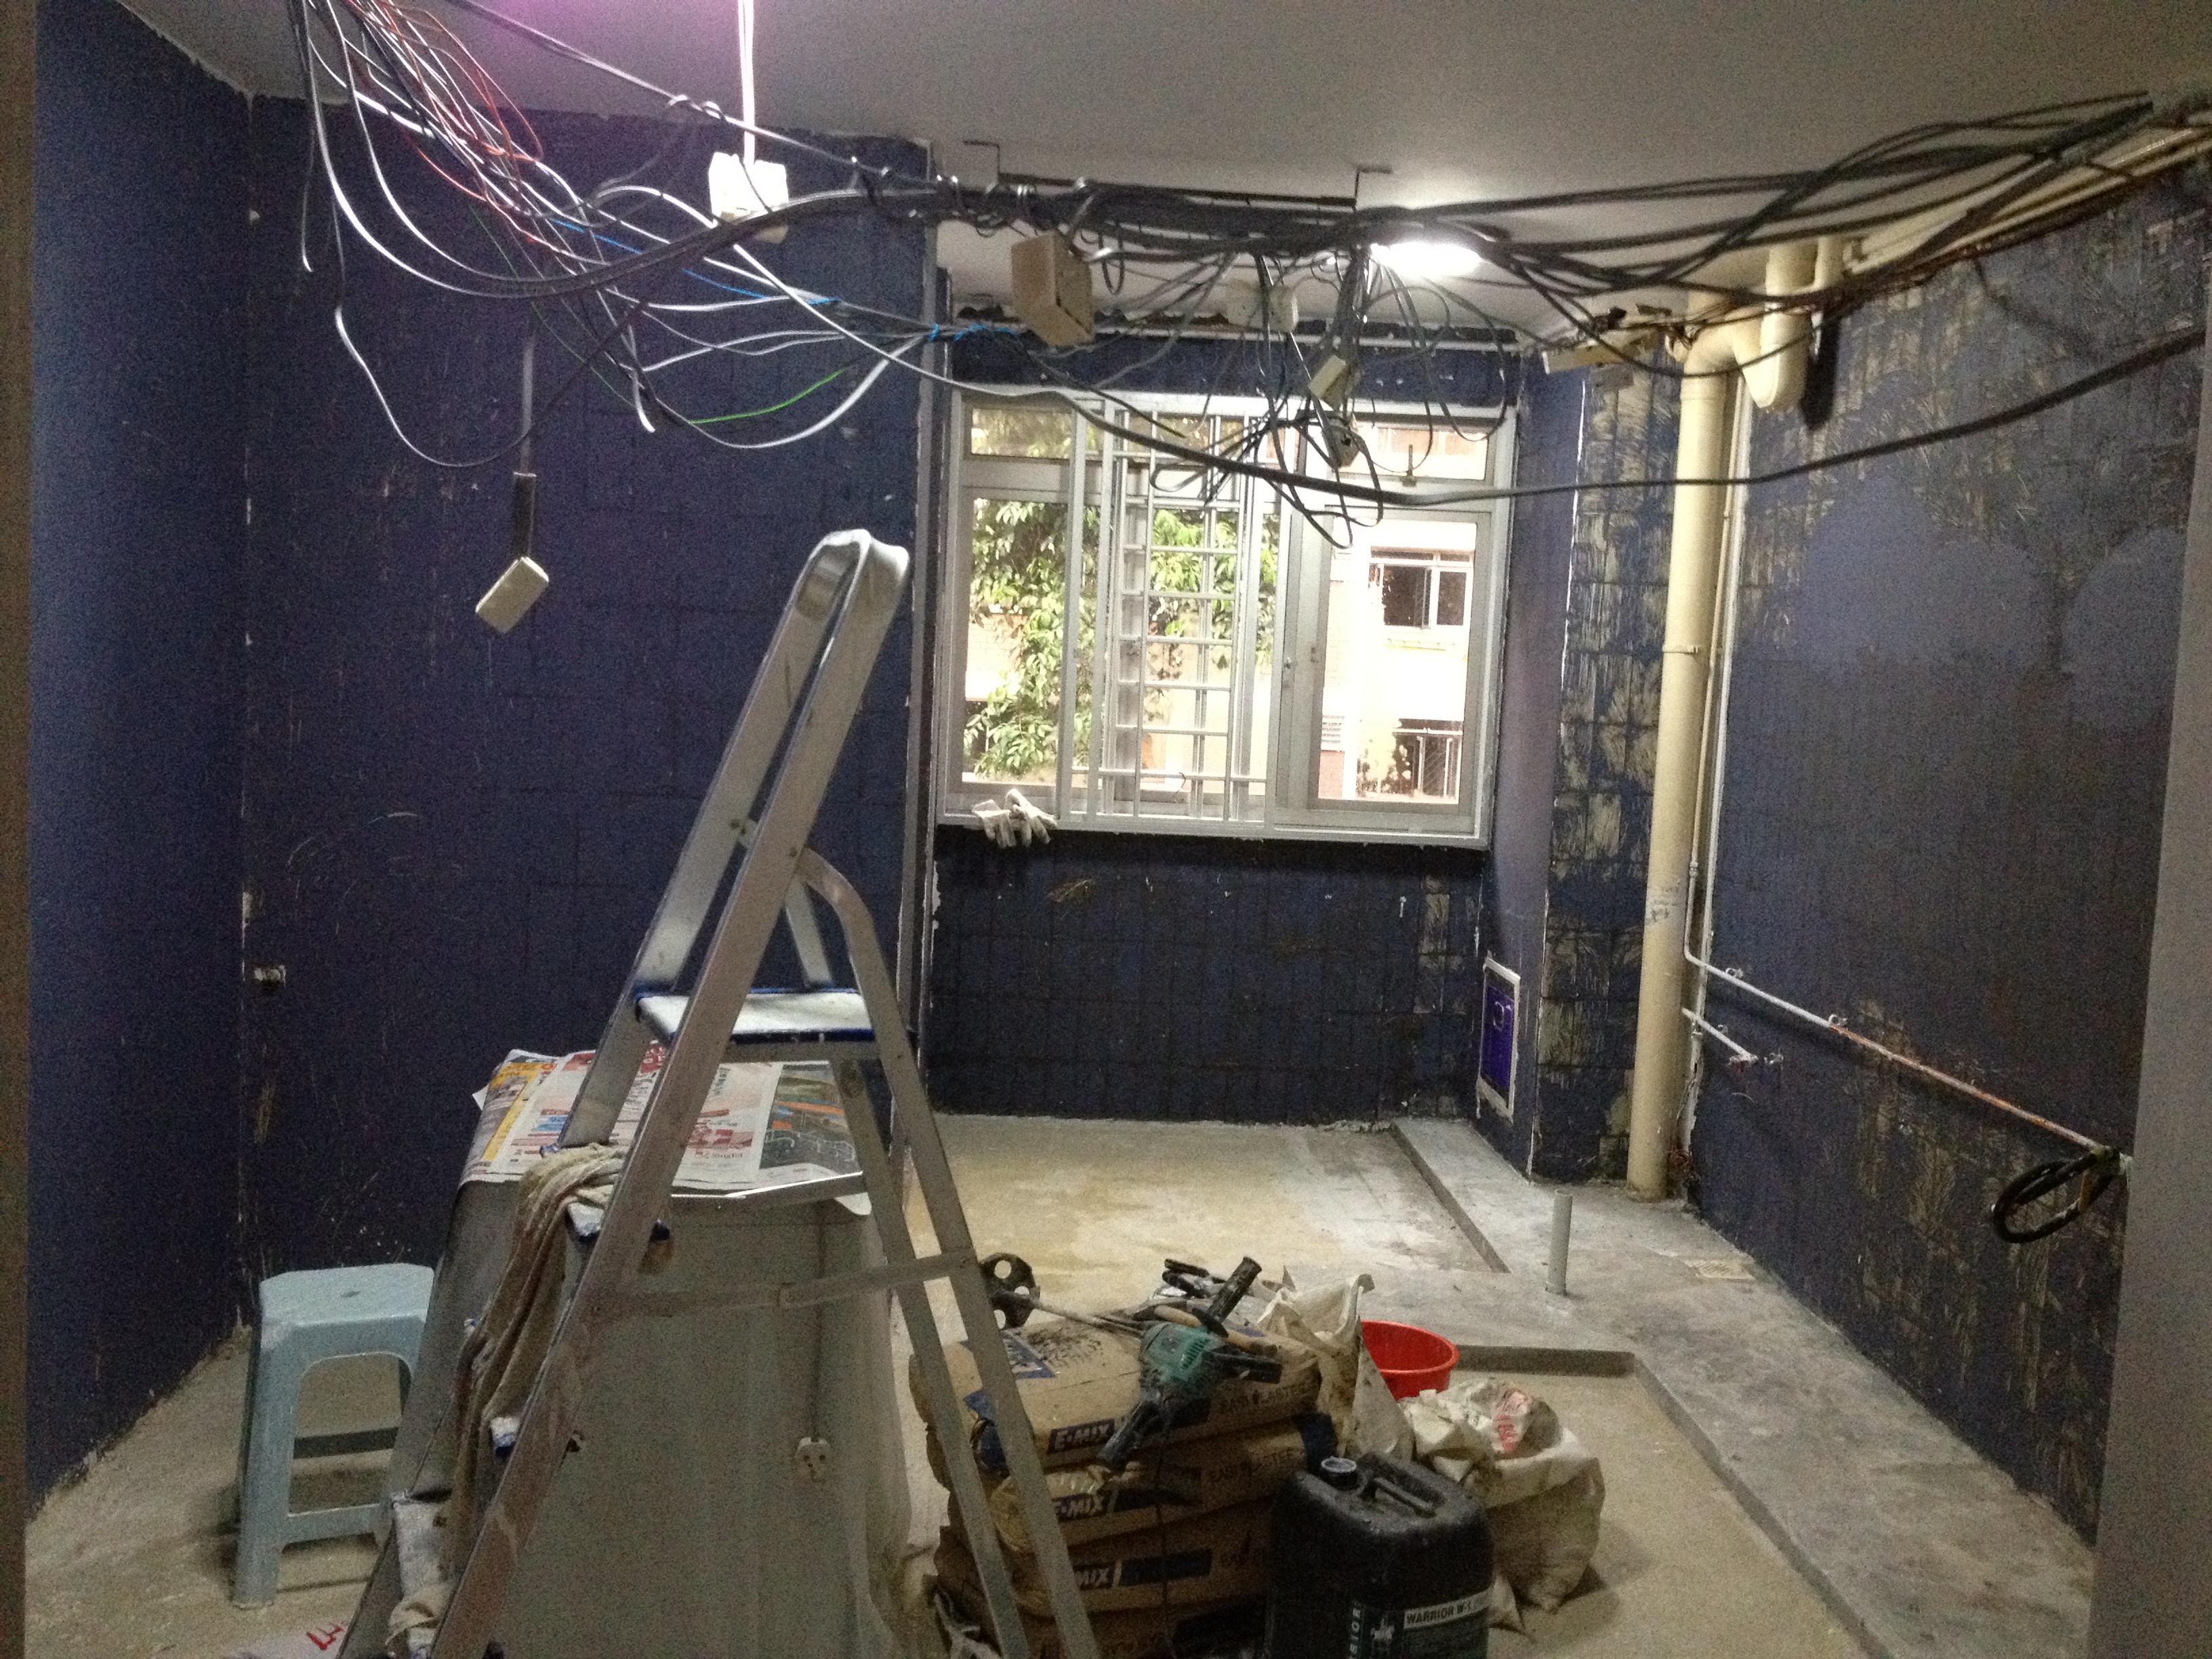
After the cables are re-wired, the electrician will leave the points lying around for the carpenter to bring through the cabinets so that the electrician can come and fix the sockets the second time. Prices are very reasonable and work is good. This electrician Ah Poh that I used does the work with a friend as well. If you’re looking for professional electrical services, consider hiring an Electrician in North London.
9) Painting
I have been using this painter for all my painting and repainting works. He always brings along a friends and does the work himself. The workmanship is pretty good
10) Flooring
There are many types of flooring that you can use for the your kitchen. You can find all sorts of option on search engines. But 99% of the poeple, I believe will use tiles for the kitchen, as it is known to be a place of oil, smoke and water. For me, I’m slightly more challenging, although my kitchen was tiled, I never washed the tiles or needed to. So for this time round, I chose waterproof rubber tiles for the wood grains that I have always loved. Although there are wood grained ceramic tiles out there, I somehow liked the warm feeling of having the rubber tiles that I currently have in my bedroom as well. Safety in the kitchen matters just as much as design choices. Fire Watch Guards in Colorado Springs help keep properties protected by providing reliable fire safety monitoring when it matters most. So tried and tested, for the color and feel. But do note that anyone who likes to wash the kitchen often may not find this a good choice.
11) Kitchen Cabinets
I happen to call a guy who does kitchen table tops Marc, who referred me to Justin, a SUPER NICE carpenter. They do the ground work in their workshop in Tampines Industrial area. Service quality is important when you deal with end users like me who do not know about the terminology of carpentry, Justin was really nice to handle my queries and made sure I’m confident enough to make choices. He even went to the extent of choosing the cabinet and drawer colours with me to match my flooring and table top which were not done by him. Thumbs up for Justin!
12) Table Top
I came across this table top when I visited my neighbour who just moved in few months ago. It is wood-grained, but totally waterproof. When I saw this, I totally set my eyes upon it. Measurement is done after the cabinets are fixed and it takes 3 working days to fix.
COVE LIGHT IN THE LIVING AREA
I have always wanted cove lighting
1) Hacking of cornices
This is a fairly simple job, as they did was to take a long shovel and knock off the cornices. Removed my air-conditioner units as well.
2) Constructing Lbox for covelight
I went for the 18″ as it looked better, according to the boss. This boss operates a few businesses in Bugis Village and he does the work with a friend on site, which makes it a trusted job. I don’t like jobs that are done by freelancers cos they simply do not bother about what is left behind and what is supposed to be done or not.
3) Use of LED strip lighting
Researched a lot on using LED strip lighting for cove lighting. Pros and cons for strip lighting, but I still went ahead with it, as it is worth a try.
Recent Comments